
CALL FOR A FREE QUOTE TODAY! (705) 457 - 6411
How to Install Vinyl Siding: A Step-by-Step Guide for a Perfect Finish
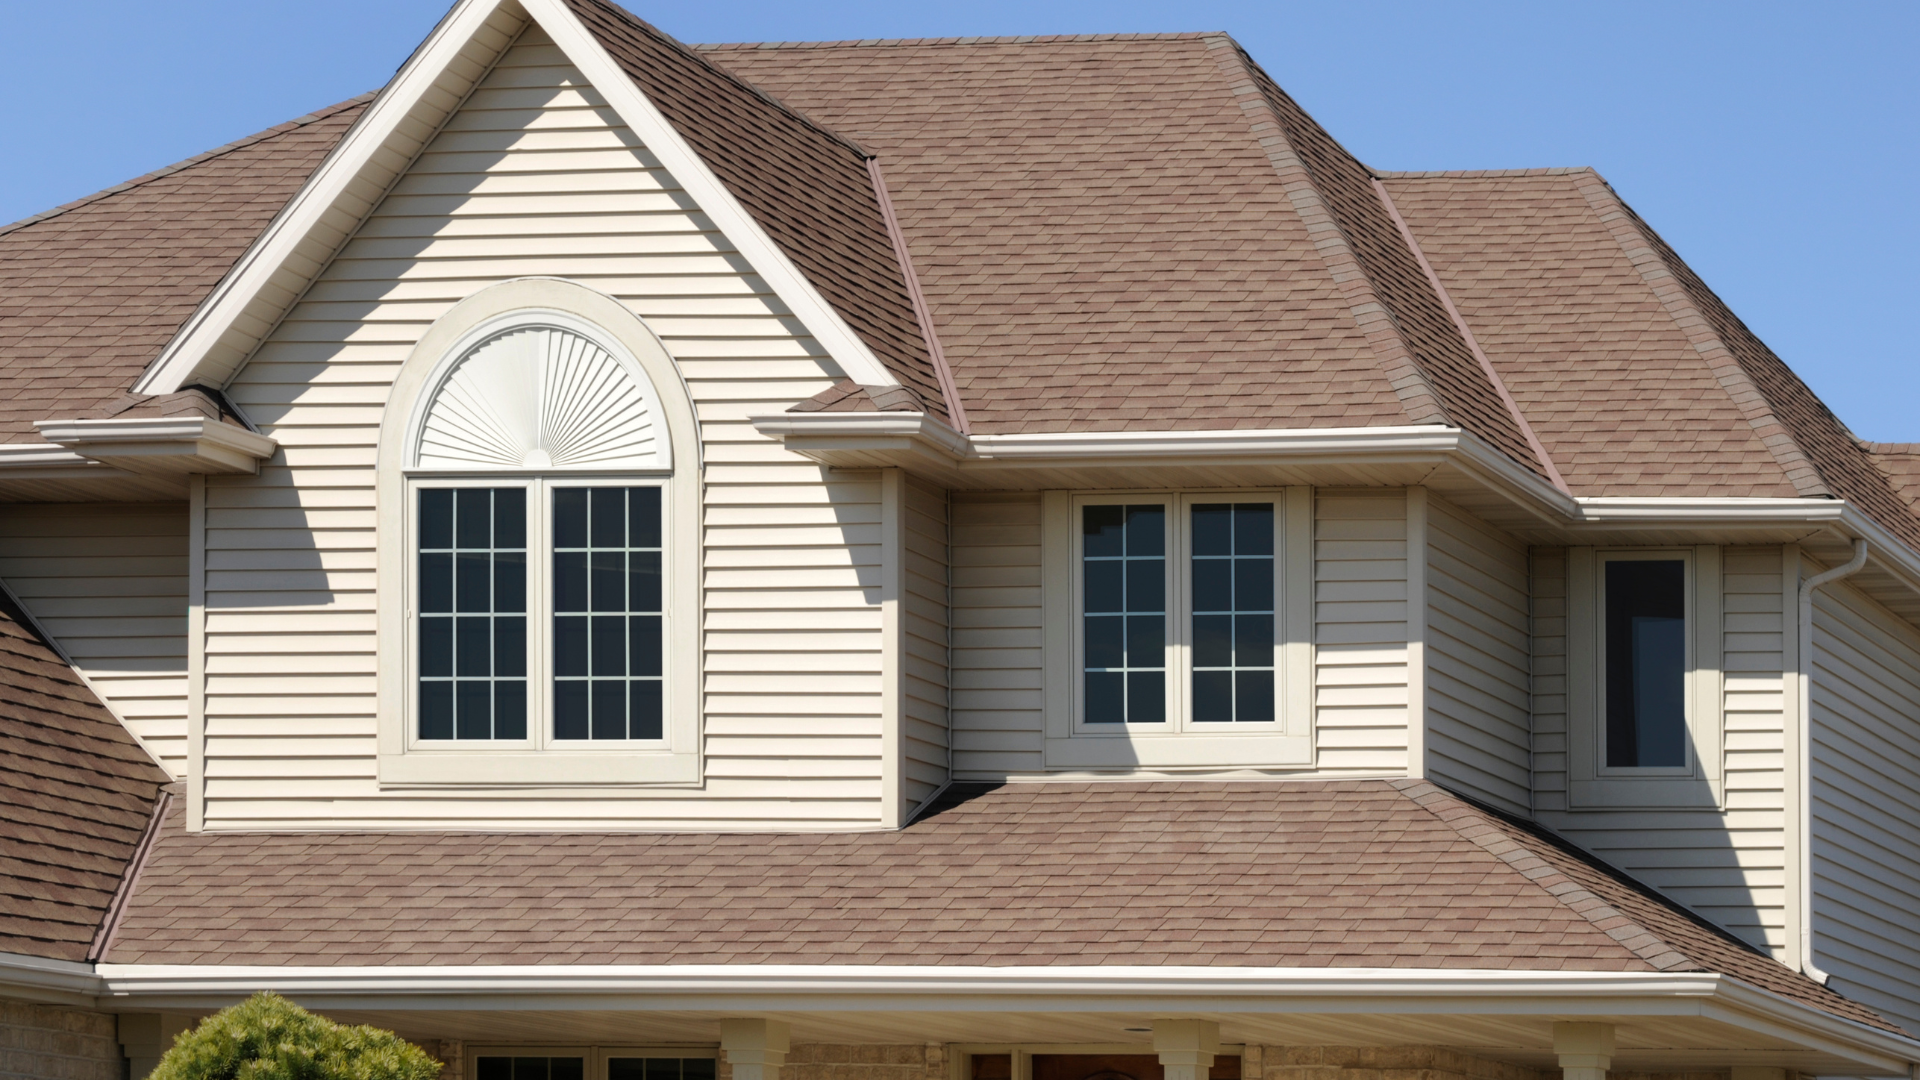
Vinyl
siding is an excellent choice for homeowners looking to improve the appearance, energy efficiency, and protection of their home. Not only is vinyl siding durable and low maintenance, but it also offers a wide variety of colors and textures, making it a versatile option for any home style. In this guide, we'll walk you through the process of installing vinyl siding, so you can enjoy a beautiful and long-lasting exterior for your home.
Why Choose Vinyl Siding?
Before diving into the installation process, let’s take a quick look at why vinyl siding is such a popular choice among homeowners.
- Durability: Vinyl siding can withstand harsh weather conditions, such as high winds, heavy rain, and extreme temperatures.
- Low Maintenance: Unlike wood or metal siding, vinyl requires minimal maintenance. A simple wash with soap and water is usually enough to keep it looking fresh.
- Energy Efficiency: Vinyl siding can contribute to your home’s insulation, helping to reduce heating and cooling costs.
- Aesthetic Appeal: With a wide variety of styles and colors, vinyl siding allows you to customize the look of your home to suit your personal style.
Tools and Materials Needed for Vinyl Siding Installation
Before you begin installing your vinyl siding, make sure you have the following tools and materials ready:
Tools:
- Tape measure
- Level
- Hammer or nail gun
- Circular saw or utility knife
- Chalk line
- Caulk gun
- Ladder (for higher areas)
- Siding hooks or j-hooks
Materials:
- Vinyl siding panels
- Starter strip
- Trim pieces (corners, J-channel, and trim boards)
- Nails or screws (galvanized or corrosion-resistant)
- House wrap or foam board insulation (optional)
Vinyl Siding Installation Tips
- Measure Carefully: Accurate measurements are crucial when installing vinyl siding. Measure both horizontally and vertically to ensure each panel fits perfectly.
- Start at the Bottom: Always begin installation at the bottom of the wall with a starter strip. This provides a solid base for the first row of siding.
- Leave Room for Expansion: Vinyl expands and contracts with temperature changes. Ensure you leave a small gap between nails and siding to accommodate this movement.
- Use a Level: Always check the level as you go. Even a slight misalignment can create a crooked appearance across your entire home.
- Work in Sections: If you're working on a large home, break the installation into manageable sections. This prevents you from getting overwhelmed and ensures the process is efficient.
Vinyl Siding Cutting Methods
When it comes to cutting vinyl siding, there are several methods you can use depending on the situation:
- Circular Saw: A circular saw with a fine-toothed blade is perfect for cutting large pieces of vinyl siding.
- Utility Knife: For small adjustments or fine cuts, a utility knife is ideal. Score the vinyl and snap it along the line for a clean break.
- Handsaw: A handsaw with fine teeth can also be used for cutting vinyl, but it requires more effort and may cause rough edges.
- Jigsaw: A jigsaw is helpful for making intricate cuts around windows, doors, and other obstacles.
Surface Preparation for Vinyl Siding Installation
Proper surface preparation is essential to ensure that your vinyl siding adheres properly and functions as expected. Here are some steps to consider:
- Remove Old Siding: If you're replacing existing siding, carefully remove it, checking for any underlying issues like rot or damage to the structure.
- Inspect the Wall: Examine the wall for damage. If you find any areas of rot or mold, replace or treat them before continuing.
- Clean the Surface: Clean the wall to remove dirt, dust, or debris. A clean, smooth surface ensures a better bond between the siding and the wall.
- Install House Wrap (Optional): For extra protection and insulation, you can install a moisture barrier or house wrap before installing the siding.
- Check for Level: Use a level to check the surface. If the wall isn’t level, use furring strips to create a smooth, even surface.
Use Exterior Siding Furring
Furring strips are useful when the underlying surface is uneven or when extra insulation is needed. These thin, vertical strips of wood or metal are installed horizontally across the wall, creating a level surface for your vinyl siding. Furring strips help secure the siding properly and allow for better airflow behind the panels.
Step 1: Gather Your Tools and Materials
Before starting, ensure you have all the necessary tools and materials ready. Some essential tools include a tape measure, hammer or nail gun, utility knife or circular saw, level, chalk line, and siding hooks. Materials include vinyl siding panels, corner posts, starter strips, trim pieces (such as J-channels), and galvanized nails or screws.
Step 2: Measure the Area for Siding
Measure the total area of your home’s exterior that will be covered by vinyl siding. This helps you estimate how much siding material you'll need. Don’t forget to account for windows, doors, and any other areas that won’t need siding. Multiply the width and height of each section to determine the square footage.
Step 3: Remove Old Siding (If Applicable)
If you’re replacing old siding, carefully remove it to expose the underlying surface. Use a pry bar to detach any nails, screws, or fasteners holding the old siding in place. Make sure to check the condition of the wall and repair any areas of damage, such as rot or mold, before proceeding.
Step 4: Inspect and Repair the Wall Surface
Once the old siding is removed, inspect the wall underneath for any signs of damage. Ensure the surface is smooth and level. If you find any areas with rot or mold, treat or replace the damaged sections before continuing. A clean, dry surface ensures the vinyl siding will adhere securely.
Step 5: Install House Wrap (Optional)
Installing house wrap or a moisture barrier is an optional but recommended step. This protective layer helps reduce moisture infiltration and improves insulation. Roll the house wrap vertically, overlapping each layer by about 6 inches to create a waterproof barrier. Secure it with staples or a staple gun.
Step 6: Install Furring Strips (If Necessary)
If the wall surface is uneven, you may need to install furring strips. These thin, horizontal strips of wood or metal will create a level surface for the vinyl siding. Install them along the vertical studs of the wall, ensuring they are evenly spaced and level.
Step 7: Mark a Level Line for the Starter Strip
Using a tape measure, measure up from the ground and mark a level line around the entire perimeter of your home. This line will be where your starter strip will be installed, and it ensures that the first row of siding is aligned properly.
Step 8: Install the Starter Strip
The starter strip provides a base for the first row of siding. Begin at one corner of the house and install the starter strip along the level line, ensuring that it’s secure and level. Use galvanized nails or screws spaced about 6 to 8 inches apart. The starter strip has slots that allow the first row of siding panels to lock into place.
Step 9: Cut the First Vinyl Siding Panel
Measure and cut the first vinyl siding panel to fit the length of your wall. Use a circular saw with a fine-toothed blade or a utility knife for straight, clean cuts. Always measure twice before cutting to ensure accuracy.
Step 10: Lock the First Panel into Place
Slide the first vinyl panel into the starter strip at the bottom of the wall. Ensure that it locks into place securely. This panel will act as your guide for the rest of the siding, so it's important that it is level and aligned correctly.
Step 11: Secure the First Panel
Once the first panel is locked into place, secure it by nailing through the top of the panel into the studs behind the wall. Leave about a 1/32-inch gap between the nail and the edge of the panel to allow for expansion and contraction of the vinyl.
Step 12: Install the Next Panel
Take the next vinyl panel and fit it into the first panel. Ensure that it locks in place and is aligned with the previous row. Secure the panel with nails, leaving space between the nails and the siding to allow for expansion.
Step 13: Work Your Way Across the Wall
Continue adding panels across the wall, locking each new panel into the previous one. Always make sure each panel is level before securing it with nails. If the wall is large, you may want to use siding hooks or J-hooks to hold the panels in place temporarily while you work.
Step 14: Cut Panels Around Windows and Doors
When you reach windows or doors, you will need to cut the vinyl panels to fit around them. Use a circular saw or jigsaw to make precise cuts. Install J-channel trim around the window or door frame, ensuring the vinyl siding fits snugly within the trim.
Step 15: Install Corner Posts
Corner posts are used to cover the vertical corners of the house. Install corner posts at the end of each wall, ensuring they are level and secure. These posts will help guide the vinyl panels and create a clean, finished look.
Step 16: Fit Panels into Corner Posts
Cut the vinyl siding panels to fit snugly within the corner posts. Slide the edges of the panels into the posts and secure them with nails, ensuring there are no gaps between the panels and the posts.
Step 17: Install Trim Around Windows and Doors
Use J-channel trim around windows and doors to create a clean, professional-looking edge. This trim serves to hold the vinyl siding in place while also offering additional protection against water infiltration. Make sure the trim fits securely and covers any gaps between the siding and the frame.
Step 18: Continue Installing Siding Panels Up the Wall
Work your way up the wall, adding each row of siding panels, ensuring they are locked into place and level. Use the same nailing technique as before, allowing a slight gap for expansion and contraction.
Step 19: Cut and Install the Final Row of Siding
Once you reach the top of the wall, you may need to cut the final row of siding to fit. Use a circular saw or utility knife to trim the panels to the correct size. Install the final row by fitting it into the last trim pieces and securing it in place.
Step 20: Install Top Trim Pieces
Finish the installation by adding top trim pieces to cover the edges of the final row of siding. These pieces help seal the top of the siding and give the wall a clean, polished look. Secure the trim pieces with nails or screws, ensuring they fit snugly against the siding.
Final Checks and Sealing
Once all the siding panels are installed, inspect your work for any gaps or misalignments. If necessary, use caulk to seal any seams or gaps around windows, doors, or corners. This will ensure that your siding is properly sealed against moisture and drafts.
Finally, clean the surface of your new vinyl siding to remove any dirt, dust, or debris that may have accumulated during the installation process.
Maintenance Tips for Vinyl Siding
One of the main advantages of vinyl siding is that it requires very little maintenance. However, to keep it looking great, here are a few tips:
- Cleaning: Clean vinyl siding annually by washing it with a soft brush, soap, and water. For tough stains, use a mixture of vinegar and water or a commercial vinyl siding cleaner.
- Inspect for Damage: After a severe storm or at least once a year, inspect your vinyl siding for any cracks or loose panels.
- Keep Gutters Clean: Clogged gutters can cause water damage to the siding, so it’s important to keep them clear of debris.
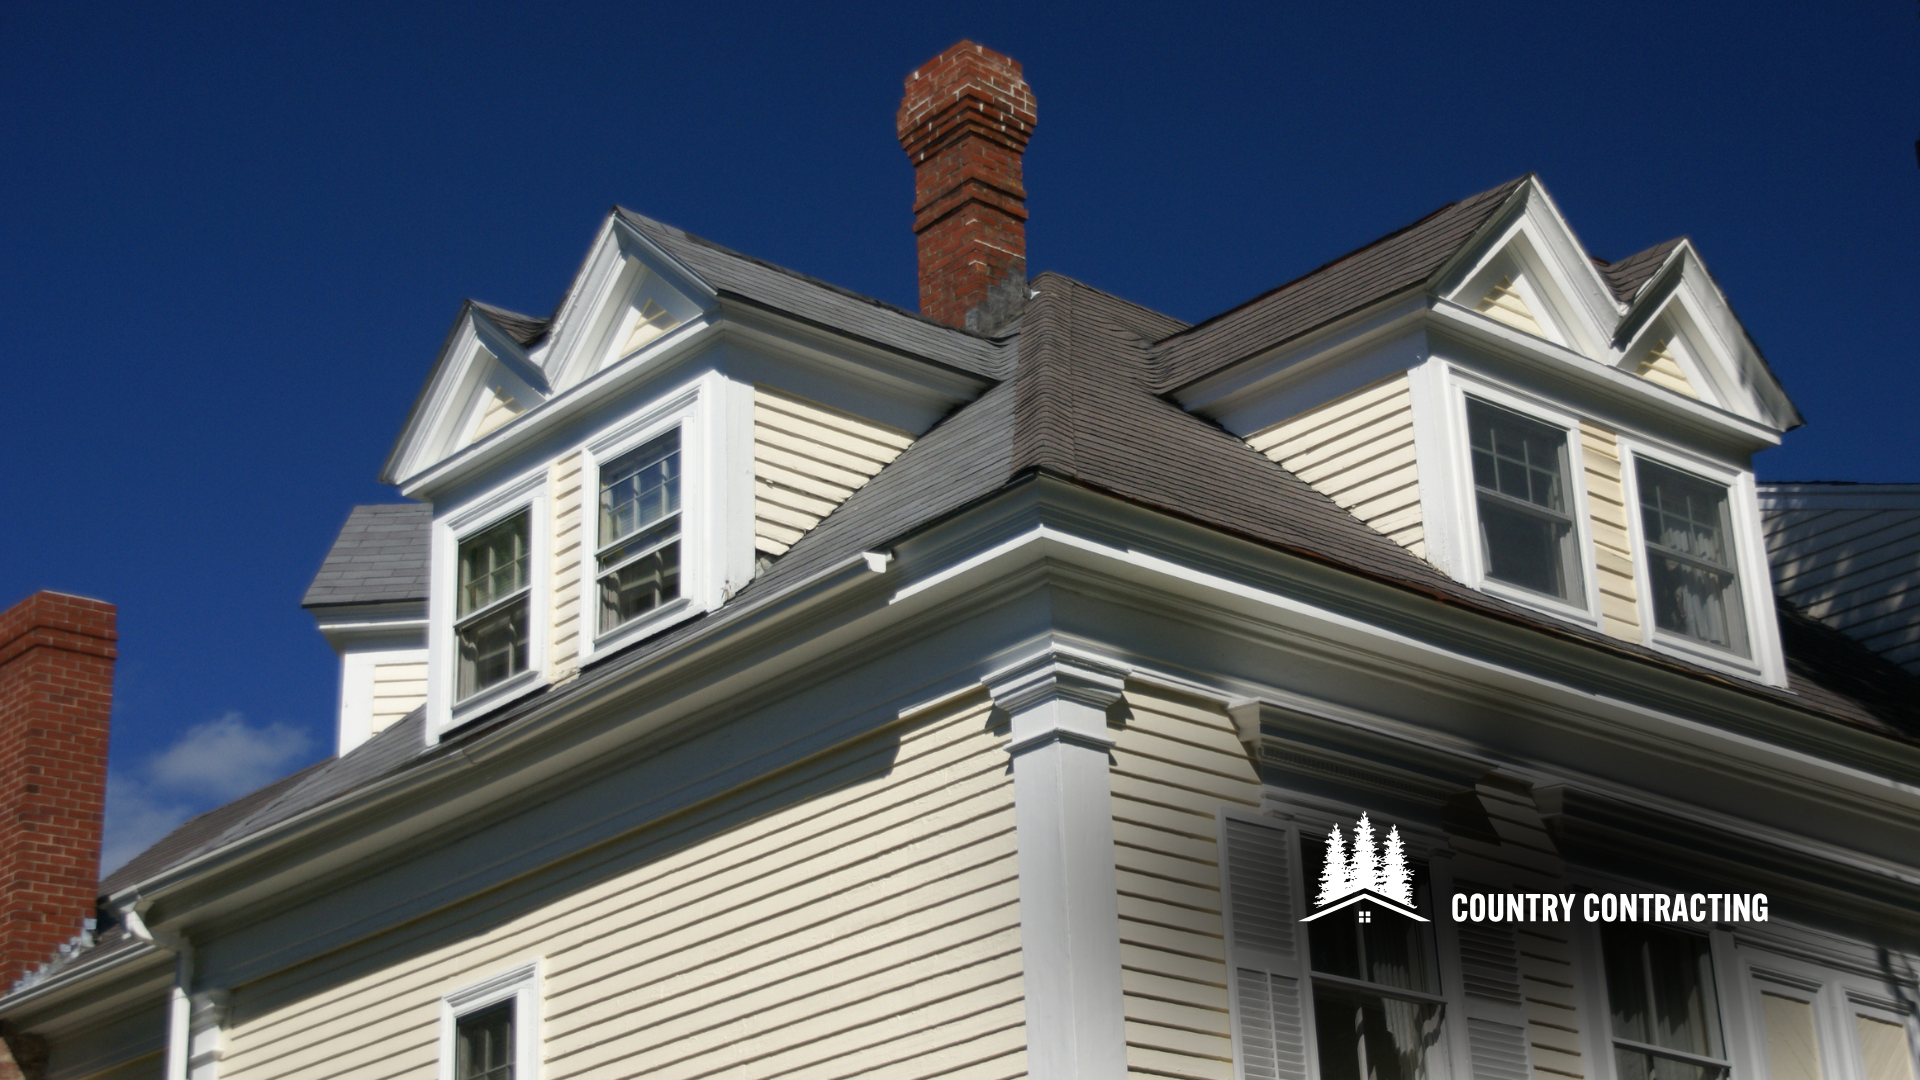
Contact Country Contracting and Construction for House Siding Installation
If you're looking for professional assistance with vinyl siding installation, contact Country Contracting and Construction for house siding installation. Their experienced team can handle everything from preparation to installation, ensuring a perfect finish for your home. Whether you're installing vinyl or another type of siding, Country Contracting and Construction will deliver quality results that enhance the beauty and durability of your property.
FAQ About Siding Installation
How does siding installation work?
Siding installation begins with preparing the house’s exterior by cleaning the surface and ensuring it is smooth and even. The process typically involves installing a starter strip, followed by attaching the first row of siding panels. Each row of panels is locked into place and secured with nails or screws. Trim pieces, including corner posts and J-channel, are added around windows, doors, and edges. The final row of siding is installed at the top, and any seams or gaps are sealed with caulk to ensure a weather-tight finish.
How much does siding installation cost?
The cost of siding installation can vary depending on factors such as the type of siding material, the size of your home, and the complexity of the installation. On average, vinyl siding installation ranges from $4 to $7 per square foot. Fiber cement siding can cost more, typically between $6 and $10 per square foot. It’s always a good idea to get a quote from a professional contractor to get an accurate estimate for your specific project.
What’s the difference between vinyl and fiber cement siding?
Vinyl siding is lightweight, low maintenance, and more affordable than fiber cement siding. It’s made from PVC and offers excellent protection against the elements while being available in a wide variety of colors and styles. Fiber cement siding, on the other hand, is made from a mixture of wood fibers, cement, and sand. It is more durable, fire-resistant, and has a more authentic appearance that mimics wood or masonry. However, it is heavier and tends to cost more than vinyl siding.
How will I know when it’s time for new siding?
If your existing siding is cracked, warped, or showing signs of wear, it may be time for replacement. Other signs that it might be time to replace your siding include moisture or water damage, noticeable gaps between panels, or an increase in energy bills due to poor insulation. If you’re unsure, a siding contractor can assess the condition of your home’s exterior and recommend the best course of action.
What are the benefits of installing new siding?
Installing new siding offers numerous benefits, including enhanced curb appeal, improved insulation, and protection from the elements. New siding can increase your home’s energy efficiency by reducing heating and cooling costs. Additionally, new siding improves the overall value of your home and protects it from moisture damage, pests, and weather-related issues. Plus, modern siding materials like vinyl and fiber cement require less maintenance than older options.
Disclaimer: The information provided in this guide is intended for general informational purposes only. Installation of vinyl siding can be complex, and results may vary depending on your home’s unique requirements. It is recommended to consult with a professional contractor for assistance with installation. Always follow local building codes and safety regulations.


CONTACT US
AREA SERVED
HALIBURTON AND SURROUNDING AREA
NAVIGATION LINKS
EMAIL US
Copyright © 2024 Country Contracting and Construction - All Rights Reserved.